
Once you’ve decided that you want to install floor tiles in one or more rooms of your home or outside it, the question is whether it would be better to hire someone to do it or to do it yourself. Changing floor tiles is a significant effort in terms of both money and time. At the same time, when we decide to change the floor tiles, it is very clear that we cannot choose any type, but we must choose wisely to be satisfied with our investment and to enjoy it.
For this reason, it is extremely important to pay attention to the materials we use and to be sure that they are the most suitable for our home. Although the costs are higher, it is advisable that if you have never done this before or if you are not technically skilled enough, to call in professionals because installing floor tiles is a laborious process, and any mistake can affect the appearance of the finished product.
However, many of us decide to install the floor tiles ourselves, and below you will find a series of tips in this regard.
The first step is to measure the surface of the floor so that you can determine the amount of material you need. For the walls where you do not intend to apply ceramic tiles, you will need tile skirting boards, and if they are not available, you can cut them from the tile slabs.
Before you actually start working, make sure you have purchased enough tile slabs.
Preparing the substrate
After you have gone through these steps, it is important to prepare the substrate. It must have load-bearing capacity, no cracks, and must be flat and clean. If there are some unevenness, they must be straightened beforehand: a putty mass is applied, with prior treatment of the surface with a base primer. Apply the primer over the entire surface with a brush. This step is important especially in summer when temperatures are higher because the water in the mortar evaporates quickly, and the tiles no longer adhere properly. The primer – a transparent material – prevents this phenomenon. After applying it, you have to wait an hour. Only after this material has completely dried, you can move on to applying the mortar.
Before spreading the self-leveling compound, it is extremely important to put a border isolation tape on the wall, because the compound is not allowed to reach the wall directly. The self-leveling compound spreads on its own. You can support the spreading process with the help of a trowel. The resulting flat surface must first dry; follow the manufacturer’s instructions on the self-leveling compound package.
Next is planning. The installation scheme must be designed to achieve the most symmetrical distribution of floor tile slabs, and it is ideal to determine the median line, which should be drawn parallel to the walls and taken into account when installing the tiles.
You can install a row of tiles and then test how the joints would look. If the edge tiles come out too narrow, as a test, you can move the row of tiles with half the width of a tile. This way, you will get wider edge tiles. Pay attention also to the transition from the bathroom to the adjacent room or hallway. If floor tiles of the same size are installed there, the joint layout should correspond.
Actual tile installation
From this point on, you can start installing the floor tiles. Start from the middle of the room or from a straight wall to orient yourself towards the door more easily.
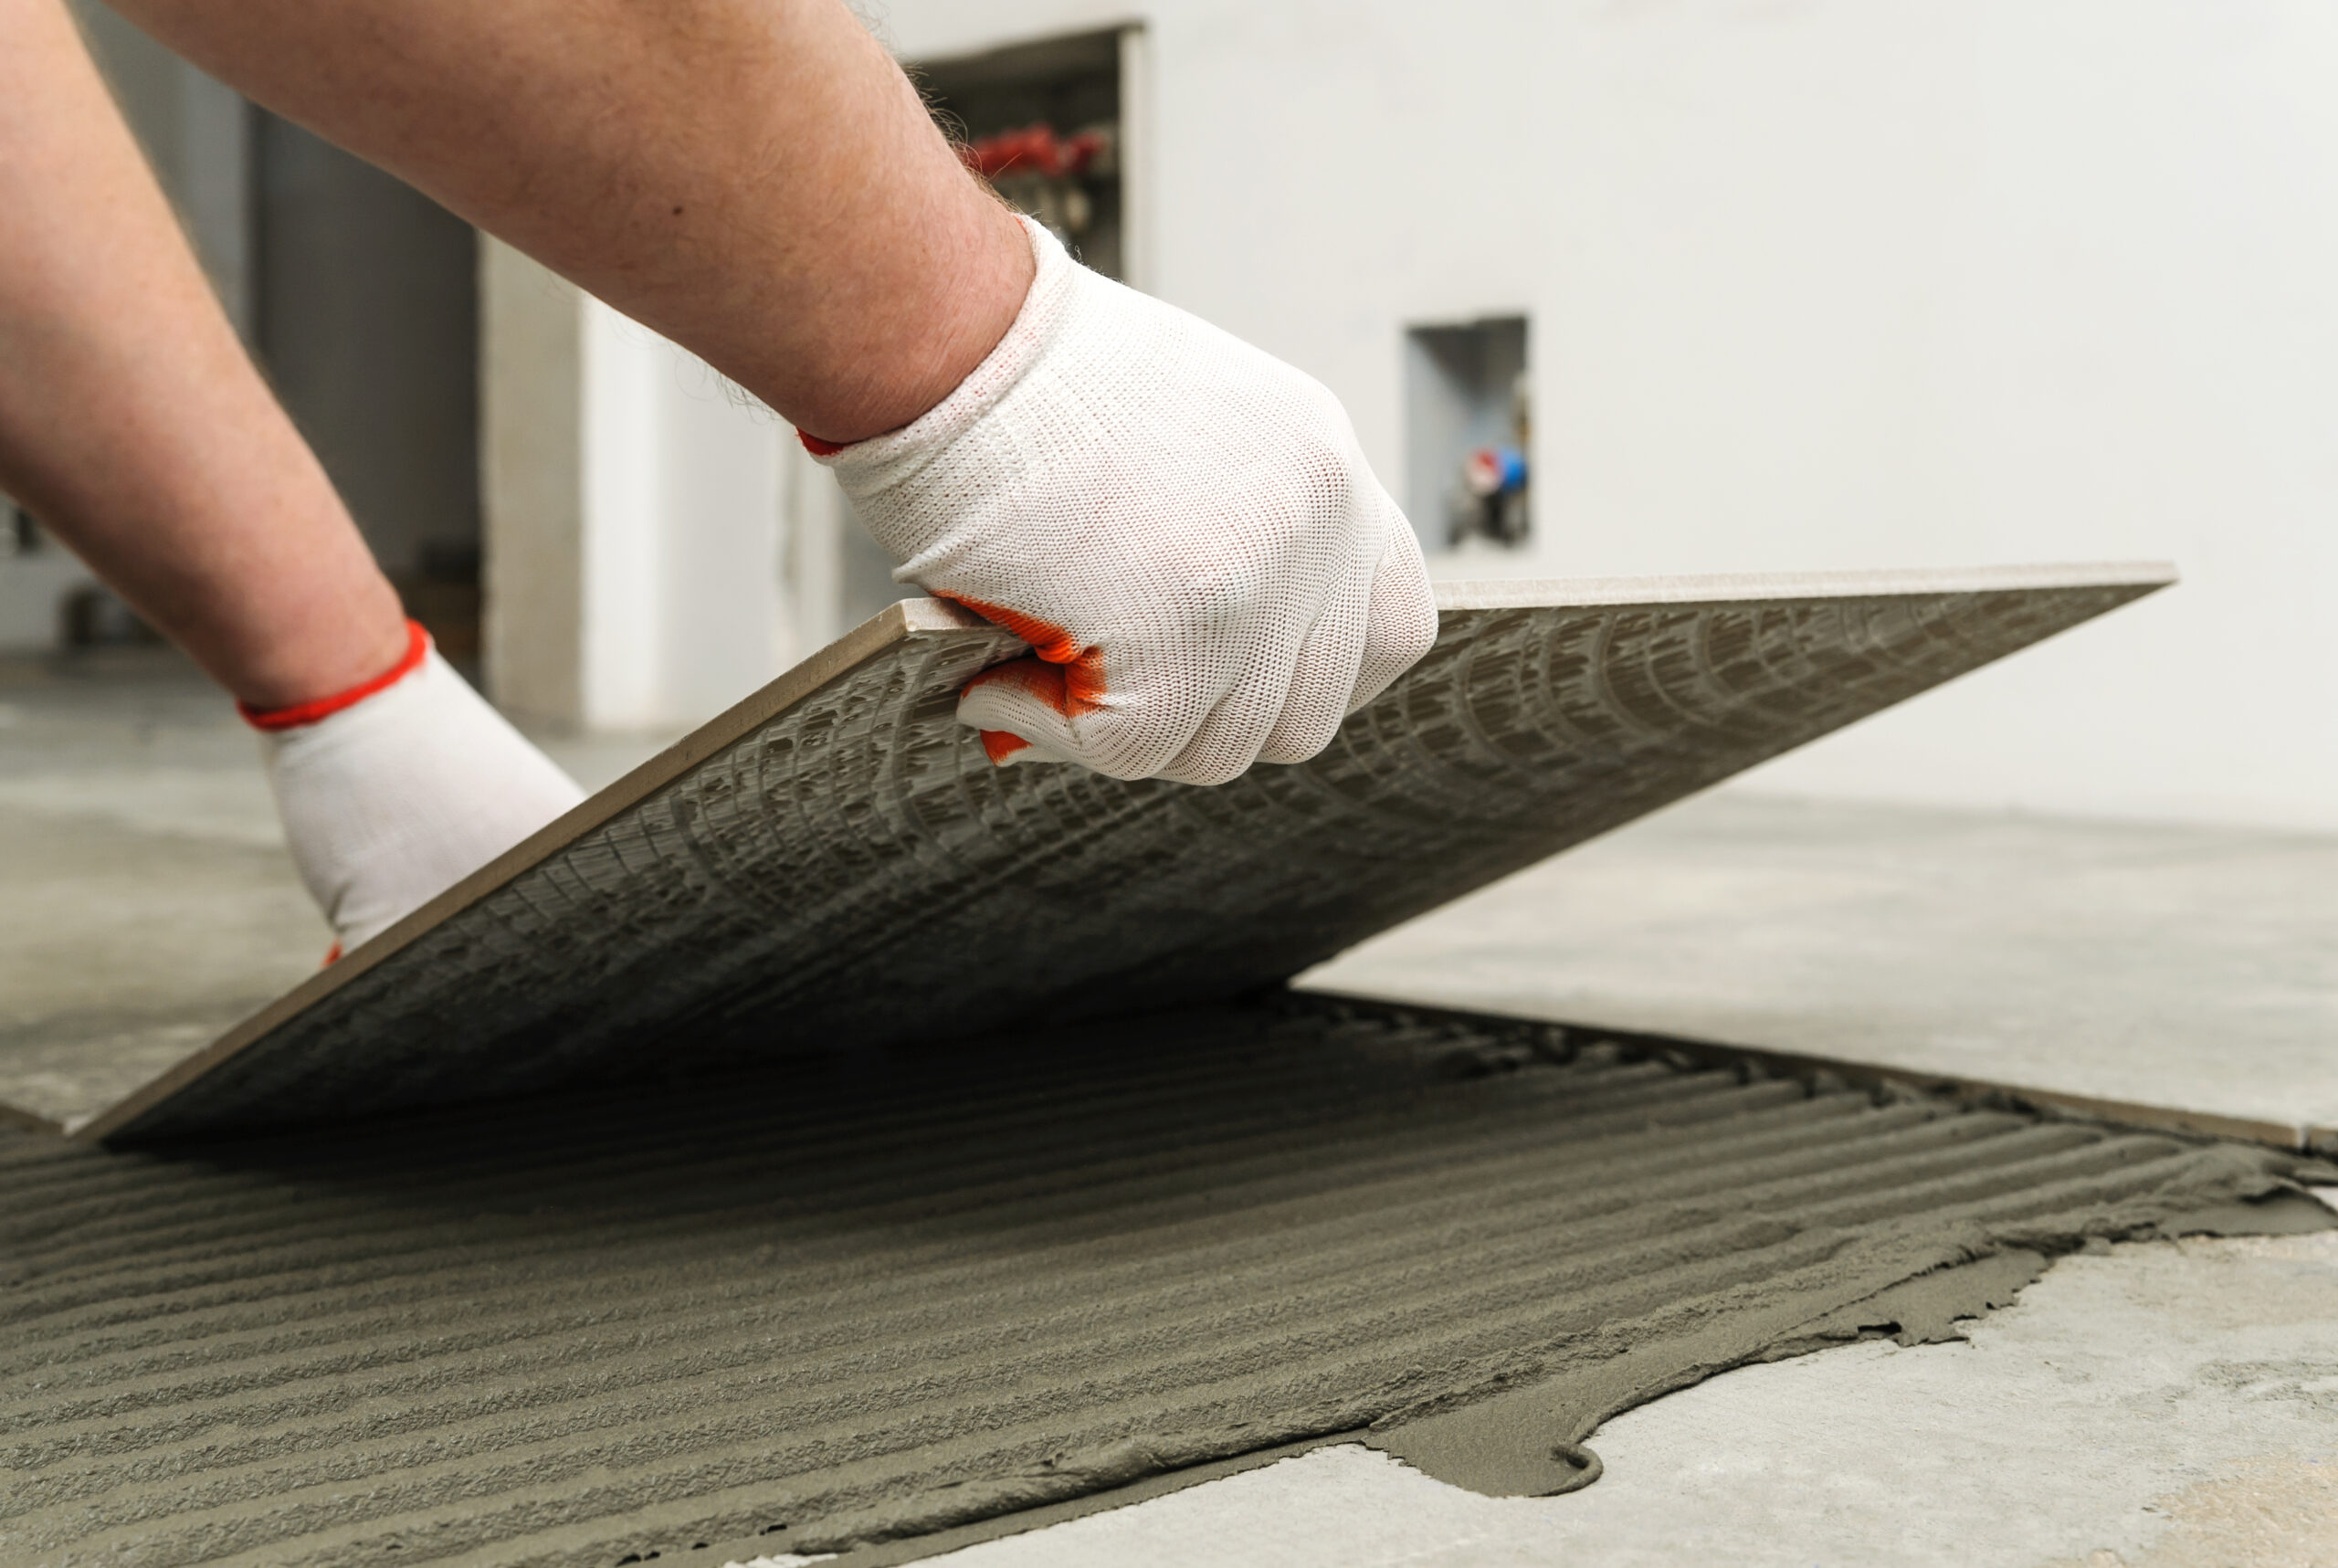
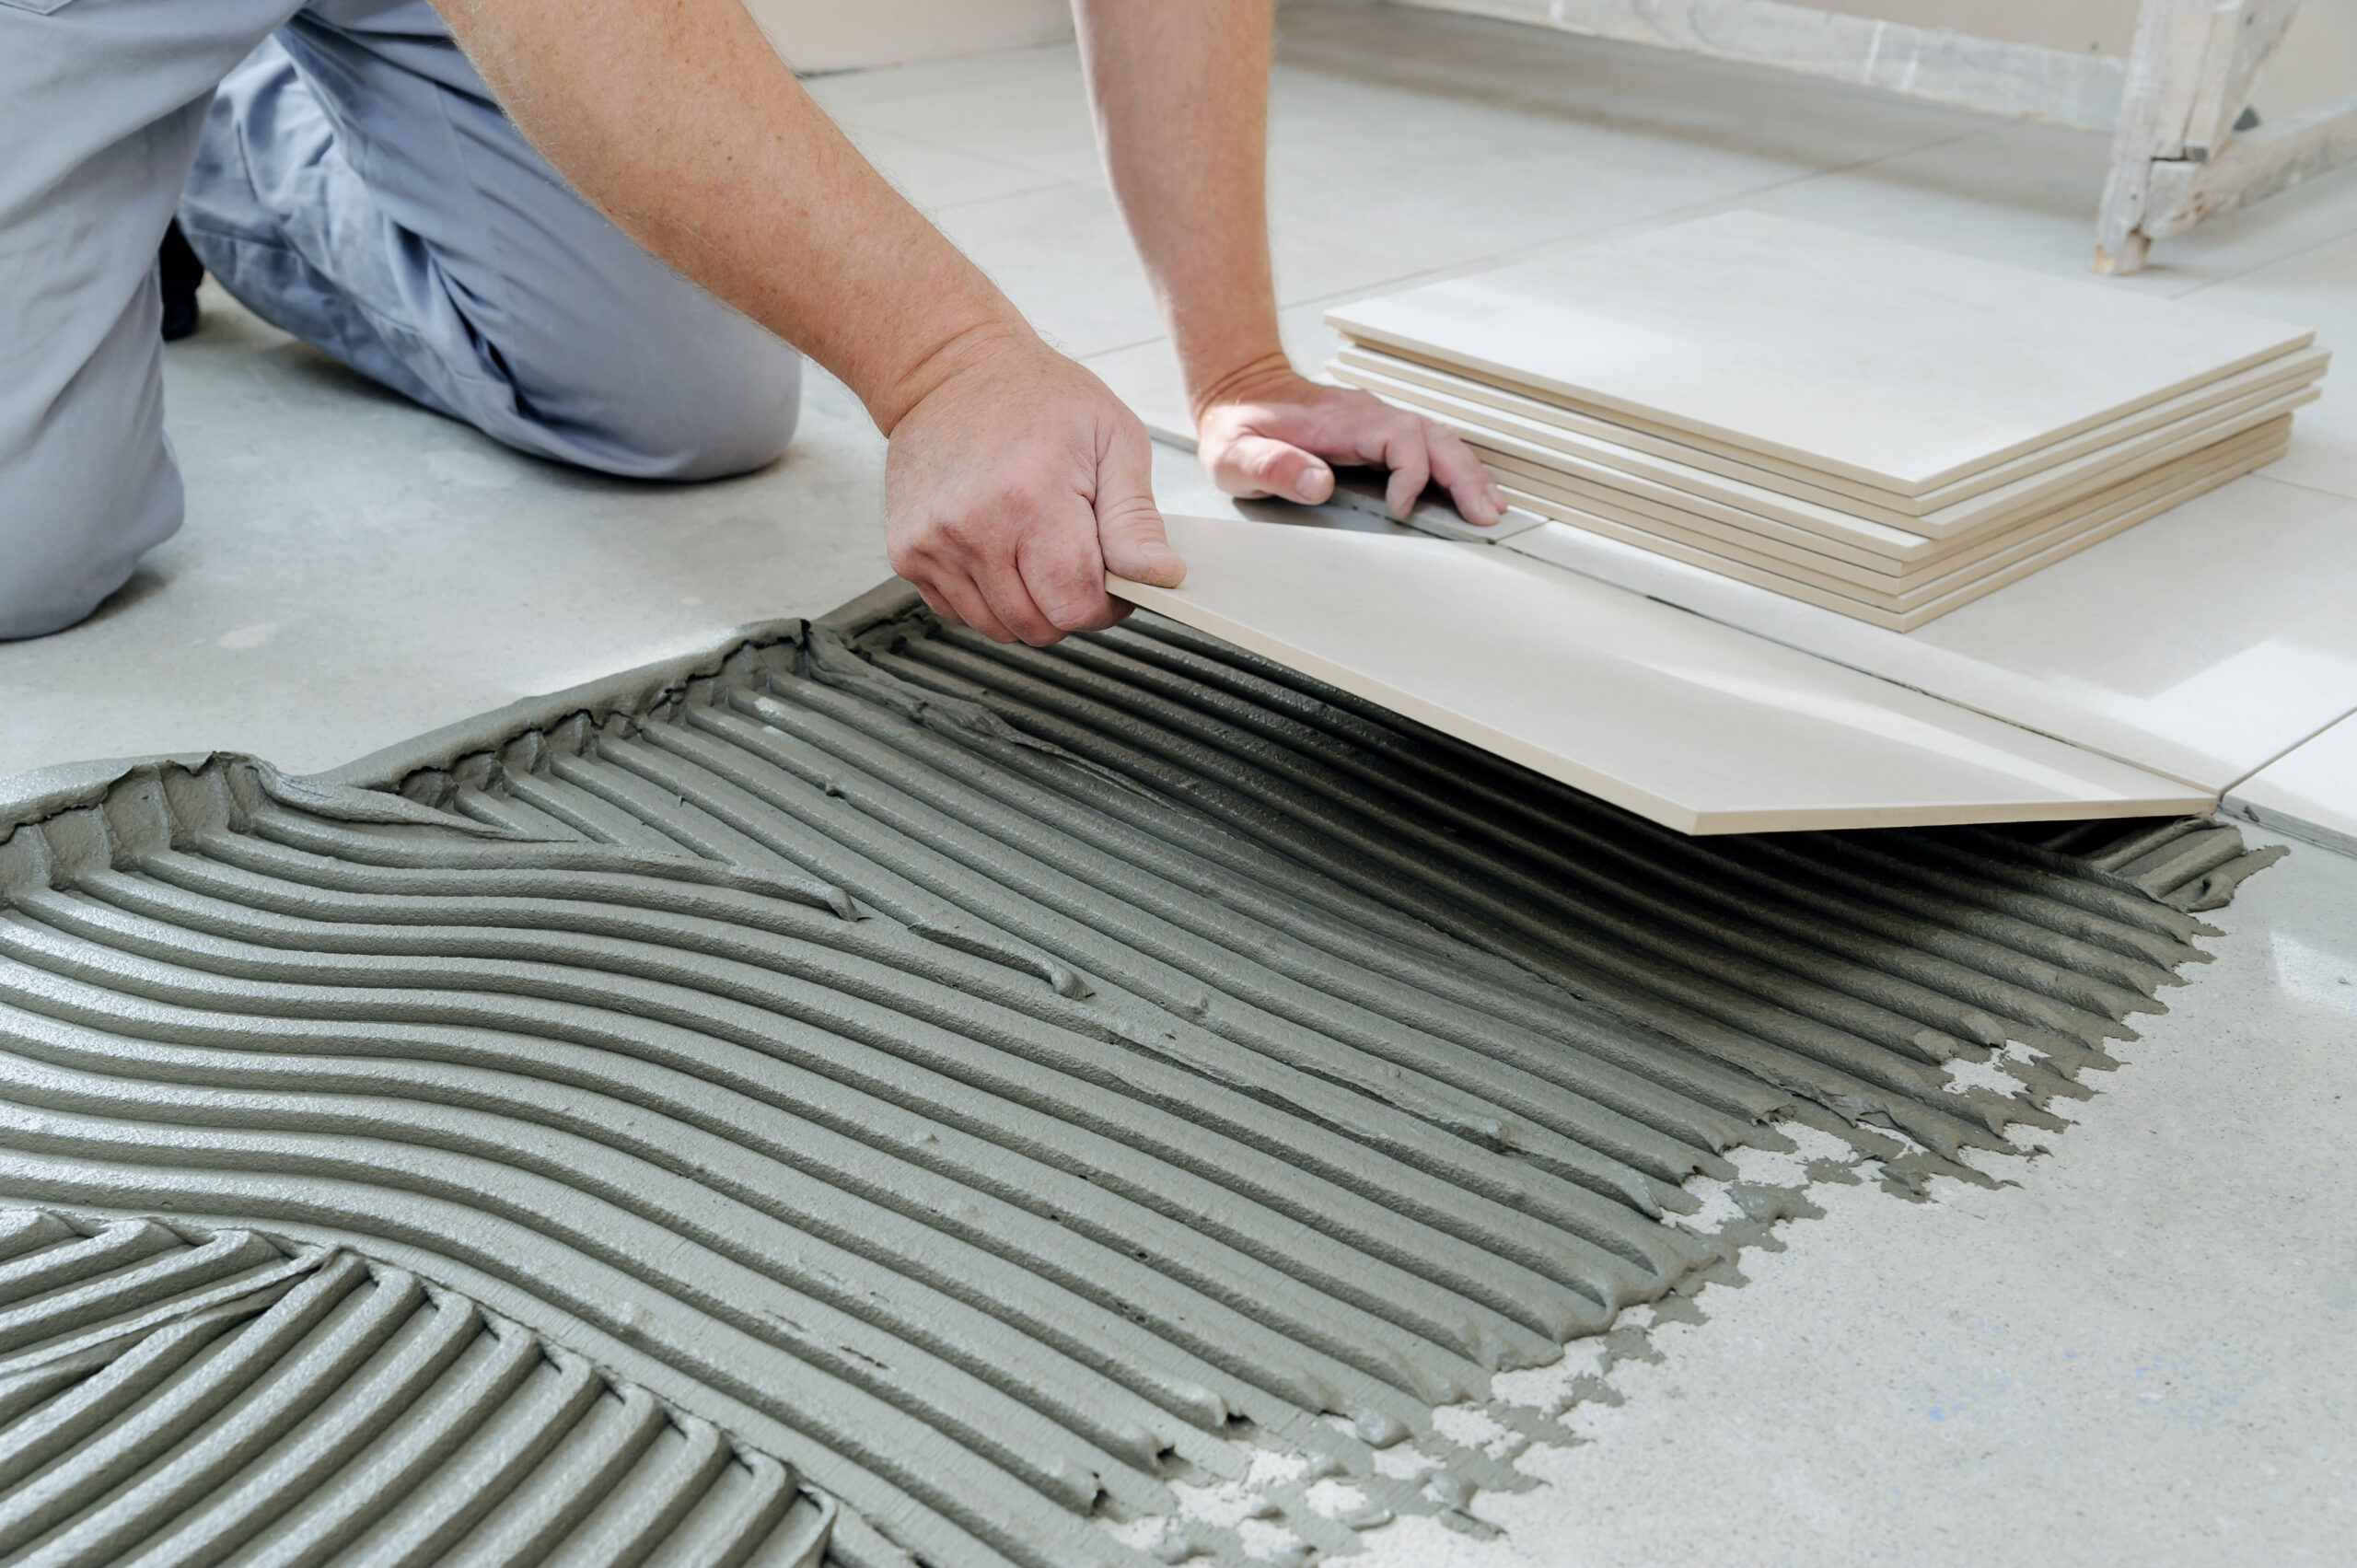
First, mix the tile adhesive (ideally a flexible one), following the instructions that come with the product. It is important to use a clean container for mixing.
First, place the first tile in the adhesive and push it gently so that it adheres to the adhesive. Use spacers for joints to create a margin between the wall and the sanitary objects. To ensure that it is fixed well in the mortar, tap it with a rubber hammer. If you hear a muffled sound, the tile is fixed.
Next, install the following tiles in the row you started. Then, you will need to use a tile cutter to make straight and continuous cuts on the tiles. Note that it is important to use a tile cutter that is suitable for the size of the tiles you are installing!
Afterward, the corners and cutouts of the tiles must be treated with an angle grinder, which requires the use of protective glasses. Draw the corner or cutout on the tile. Place a cutting support under the tile, preferably a hard foam tile. The tile must be placed stably. When making the cuts, consider the width of the cutting disc. Now cut with the angle grinder from both sides, up to the intersection of the lines.
Place the rest of the tiles in the adhesive, row by row.
Sometimes problems may arise, especially around pipes, so you will need to make some small cutouts from the tiles installed in those areas. Measure the required width and length and transfer the obtained dimensions to the tile. Then, cut with the angle grinder without the tile breaking. Then, cut the strip to fit the space you need and apply the adhesive on the back of the corresponding piece, placing it in the gap behind the pipe, for example. Then fill the resulting joints with mortar.
On the walls where you did not install ceramic tiles, you should install a ceramic baseboard. This provides protection against moisture. If ceramic baseboards are not available, you can cut them directly from the ceramic tiles.
Before filling the joints, clean the ceramic tile flooring and joints so that the mortar can penetrate the joints sufficiently.
It is best to use a flexible mortar but be careful! Follow the manufacturer’s instructions for use!
Apply the mortar for joints diagonally to the joints, using a rubber trowel, then let the material harden.
Later, clean the surface with clean water. The transitions between the floor and ceramic tiles, as well as the transitions to sanitary objects (sink, toilet, bathtub, shower cabin, etc.), will need to be filled with sanitary silicone. After applying the joint material, it is spread evenly with a joint scraper.
What is the cost of labor per square meter?
Quality labor requires a great deal of knowledge, attention to detail, and time, so we should not think about saving when it comes to it.